Recipe and Styling by Libbie Summers
Photography by Chia Chong
If you think back to the best pie you’ve ever had, with the flakiest crust, there’s a good possibility the crust was made from leaf lard. Leaf lard is the highest grade of lard and is obtained from the fat deposit around the kidneys and inside the loin of a pig. It’s ideal for use in baked goods as it has little or no pork flavor, and it is the well-kept secret of pastry chefs around the world, but no secret to country cooks like my grandmother Lula Mae. Grandma made pies with the flakiest crusts, and because she dabbled in hog farming, I can only presume her secret was leaf lard. I carry on her tradition of pie-making pride with my own special mixture of leaf lard and butter crust pies. Follow these simple step-by-step instructions for rendering leaf lard, and you will undoubtedly realize how simple the process is- and will want to keep a quart in your refrigerator or freezer at all times. Ask your local butcher about purchasing leaf fat, or source it directly from a hog farmer in your area.

How To Render Leaf Lard
Yields 2 quarts
Ingredients/Equipment Needed:
- 5 pounds of pork leaf fat, chopped
- Wooden spoon
- Fine-mesh strainer
- 2 (1 quart) clean canning jars, bands, and lids

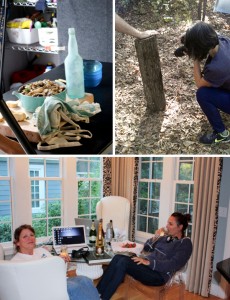
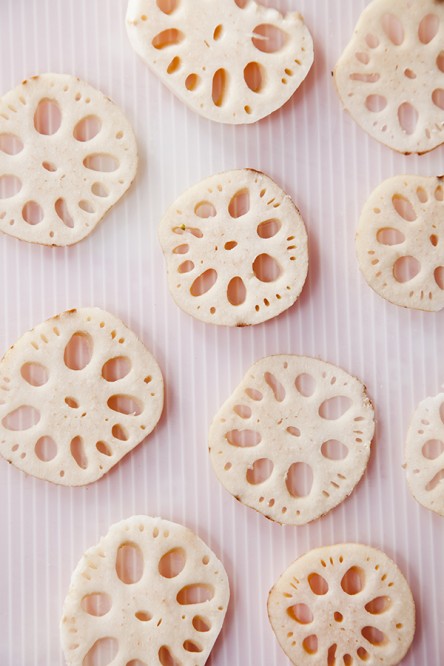
STEP ONE (shown above): Roughly chop the fat.

STEP TWO (shown above): Heat a Duch oven over medium-low heat. Add the fat and 1 cup of water.
STEP THREE: Cook, stirring every 15 minutes with a wooden spoon, for 1 hour, or until the fat begins to melt.
STEP FOUR: When the fat melts further, you’ll hear a few loud pops. This is the last of the air and moisture leaving what will soon be the cracklings (fried pieces of pork, typically a thick layer of fat and small bits of meat). When you hear these pops, begin stirring more frequently for the next 15 minutes.

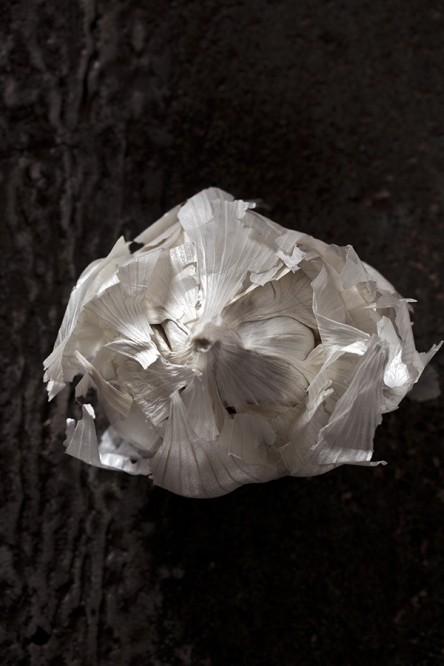
STEP FIVE (shown above): Strain and remove the cracklings that float to the surface.
STEP SIX: When the remaining cracklings sink to the bottom of the pan, the lard has been fully rendered and the liquid will be yellow. Remove from the heat and let the lard cool slightly.

STEP SEVEN (shown above): Pour the lard through a fine strainer into sterilized canning jars. Save the cracklings left in the bottom of the pan for a snack!

STEP EIGHT (shown above): Refrigerate the jar of lard overnight, uncovered. The lard will solidify and turn white. Replace the lid, cover tightly, and store the lard in the refrigerator for up to 4 months or in the freezer for 1 year.
Photography courtesy of Chia Chong from The Whole Hog Cookbook by Libbie Summers (Rizzoli)